

Set up your panels
Keep one list of windows and body panels, with a size for each, that every PPF and tint service uses to plan film.
A panel is one part of a vehicle that a service covers, such as the front windshield, a hood or a door skin. Services list the panels they cover. Estimates and jobs start from those panels, and ShopWrk uses each panel's size to work out how much film the job needs.
You change the list under Settings > Panels. You need Edit settings, which Owners and Admins have. Technicians can't open this page.
Settings > Panels replaces the old panel template library. Old template links open this page.
Edit the panel list
Panels are split into Windows and Body panels. Each row shows the panel's size in ft², or the range across vehicles, like 11–16 ft². ShopWrk starts every shop with a list that includes windshield, side and quarter glass, hood, bumpers, fenders, doors and roof. The sizes are starting estimates, so check the ones you use most.
Open the list
Go to Settings > Panels.
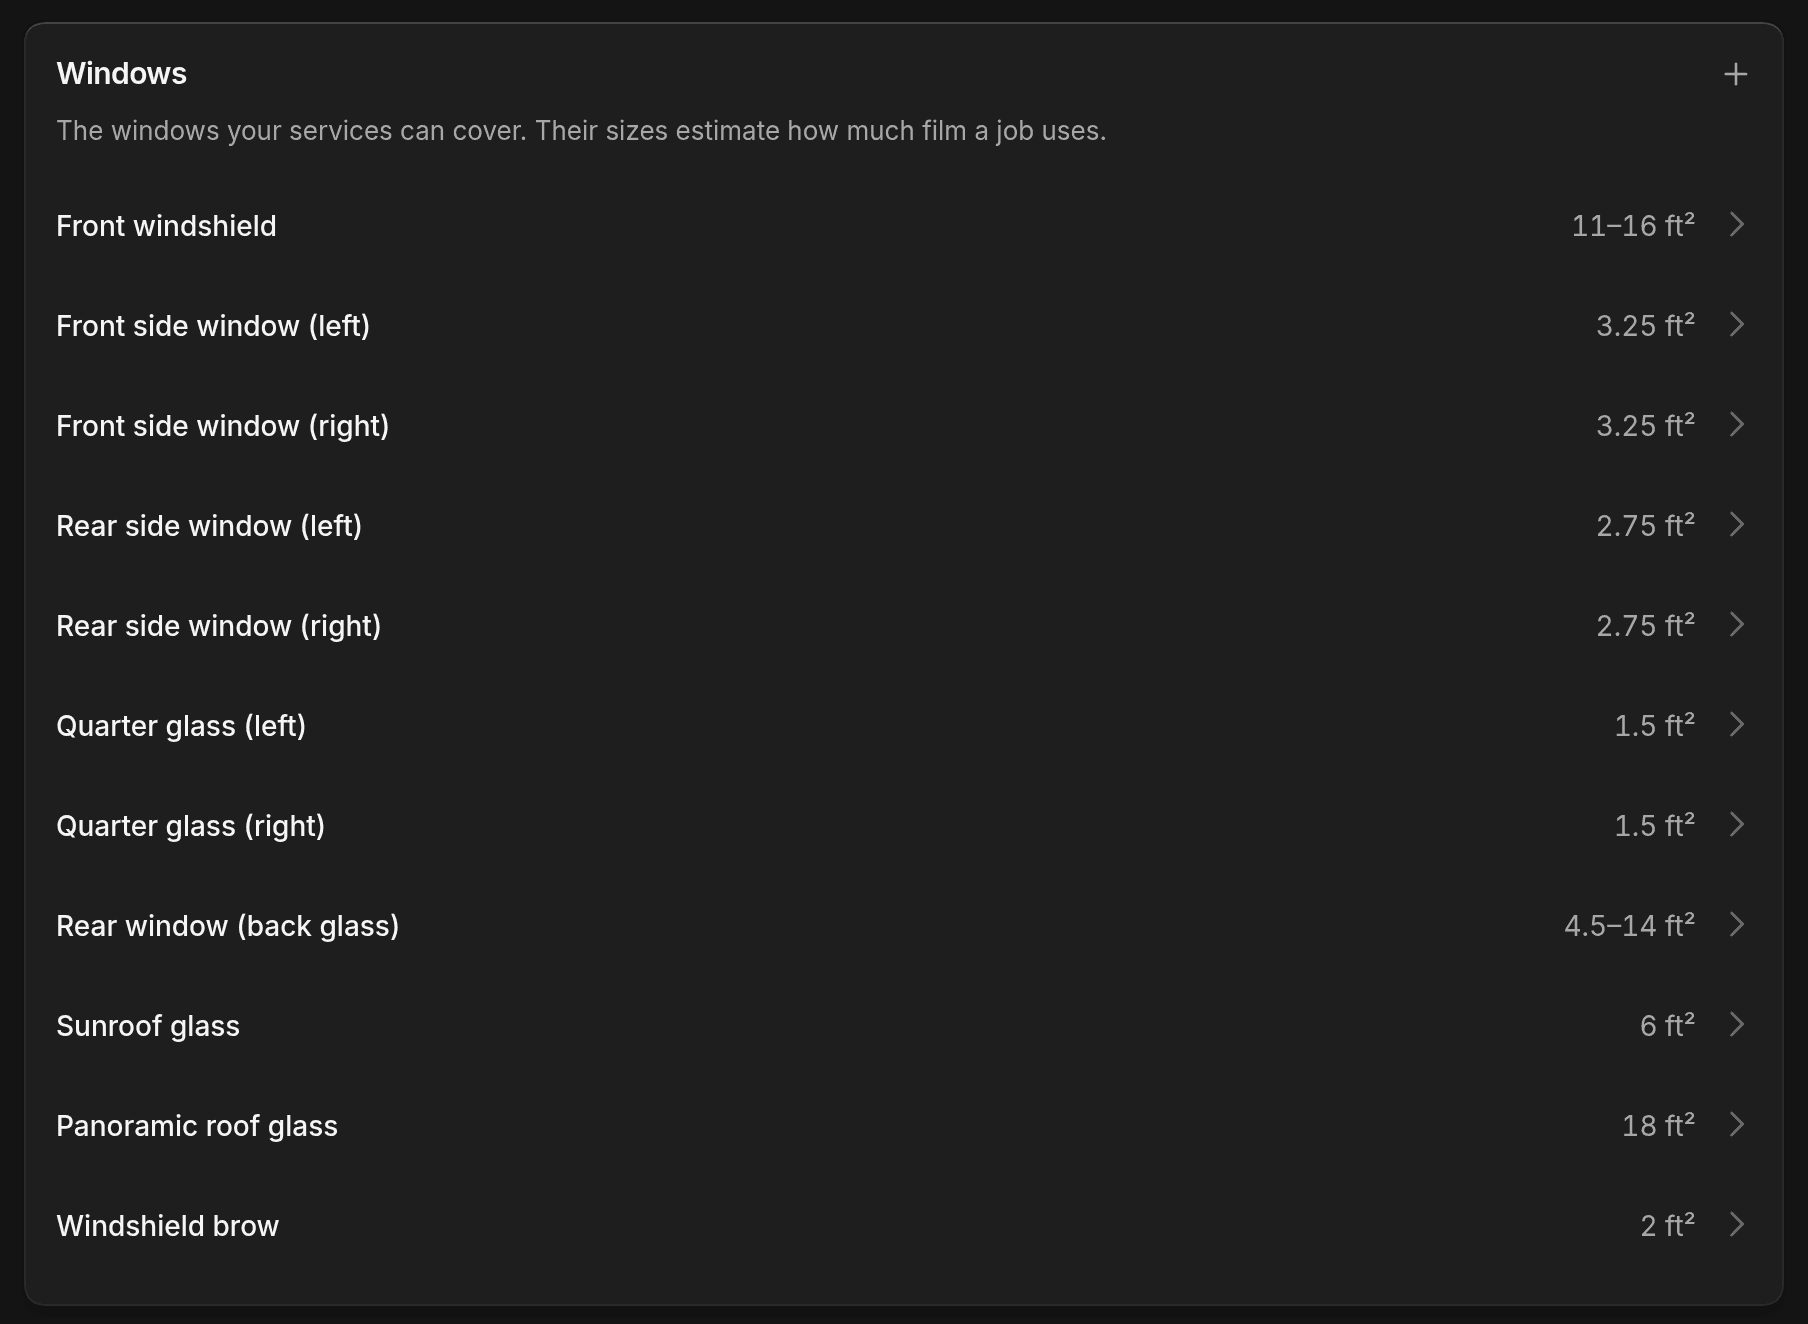
Add or change a panel
Click New window or New body panel, or click a row to change it. Enter a Name and a Size in ft². If the size changes by vehicle, turn on Different size for each vehicle and enter one for Sedan, Coupe, Small SUV, Large SUV, Truck, Minivan, Exotic, Other and Tesla. Click Save.
Set extra film
Extra film is a percentage added on top of the panels' size for trimming and offcuts. It starts at 30%. A 12 ft² windshield then plans for 15.6 ft².
Save your changes
Click Save in the page header. Jobs you book from then on use the new sizes. Jobs already booked keep their numbers.
To take a panel off the list, open it and click Remove panel. Services that already use it keep it, marked as archived. You can click Undo on the message that appears, until you save.
Add panels to a service
On a service, open an option and use Panels covered. Click Add panel and pick from your list. A service can't cover two panels that overlap, like a full hood and a partial hood, so the second one won't be offered.
Pick the option's Film. Every panel on the option starts on that film. Films and coatings come from your inventory. See Services for the rest of the option.
How panels show up on estimates and jobs
When you add a service to an estimate or book a job, a Panels card lists the panels from the option. You can add or remove panels for that estimate or job only. The service itself doesn't change.
- Windows get a shade. Pick one, or leave Decide later if the customer will choose at drop-off.
- Body panels don't have a shade.
- Each panel can use a different film. If the option has no film, the panel shows Not set and someone picks one.
On a job, a Materials card plans the film for the panels, using their sizes and your extra film. On Finish, the technician sets what was actually used and any waste, then clicks Mark done. Shades still on Decide later need to be chosen first. See Inventory for how that stock is taken.
Questions
Why is a panel's film empty on a new estimate? The option has no Film. Open the service, choose one on the option, and save.
I changed a size and my booked job didn't change. New sizes apply to jobs you book after you save. Booked jobs keep the numbers they had.